
How to Fill a Raised Garden Bed: Layers for Success
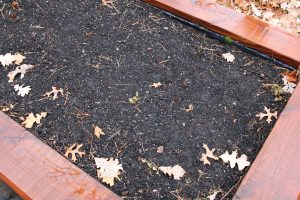 If you’re diving into gardening with raised beds, understanding how to properly fill them is crucial. Here’s a straightforward guide to setting up your raised garden bed for optimum plant health and yield.
Why Raised Beds?
Raised garden beds offer excellent drainage, soil quality control, and easier access for planting and maintenance. They can also help prevent soil compaction, which is common in traditional gardens due to frequent walking and activity around the plants.
Starting from the Bottom: The Base Layer
Your first layer should focus on drainage and preventing weeds. Start with a layer of cardboard or newspaper. This natural barrier decomposes over time but initially helps to block weeds and grass from coming up into your bed. On top of this, add a layer of gravel or small rocks. This improves drainage, keeping the soil above from becoming waterlogged.
The Middle Layer: Support and Drainage
The next step involves materials that provide both drainage and a bit of nutrient-rich organic matter. Consider using leaves, straw, or grass clippings. These materials help maintain moisture while slowly breaking down to enrich the soil. Another great option for this layer is wood chips or bark, which also decompose over time and improve soil structure.
The Top Layer: Your Growing Medium
This is where your plants will root and grow. For the top layer, use a mix of topsoil, compost, and potting soil. This combination ensures that your plants have the nutrients they need. The topsoil provides bulk and density, the compost offers rich nutrients, and the potting soil ensures lightness and good moisture retention.
Customizing Your Soil
Depending on what you plan to grow, you might need to adjust your soil mixture. For vegetables, ensure your soil is rich in compost to support their nutrient needs. For flowers, you might opt for more potting soil to keep the mix light and aerated.
Filling Your Raised Bed
- Measure your bed: Before you start, know the dimensions of your raised bed to estimate how much of each material you'll need.
- Layer your materials: Begin with the base layer of cardboard or newspaper, then add your gravel. Next, add your middle layer of organic materials. Finally, fill the top with your soil mixture.
- Mix the layers slightly: Gently mix the interface between the middle and top layers to help integrate the organic materials with the soil. This aids in root penetration and moisture movement.
- Water each layer: As you add each layer, lightly water it. This helps settle the materials and eliminates air pockets.

Raised Bed Maintenance Tips
- Check drainage: After the first few waterings, check how well water drains through the bed. Adjust by adding more organic matter if the bed drains too slowly.
- Top up your soil: Each year, add more compost to replenish nutrients used by plants.
- Rotate crops: Avoid planting the same type of plants in the same spot each year to prevent depleting the soil of specific nutrients and to discourage pests.
Conclusion
Filling your raised garden beds properly is essential for the health of your plants. By constructing your bed with these layers, you ensure that your garden will have good drainage, adequate nutrients, and a solid foundation for whatever you choose to grow.
About Food Independence
At Food Independence, we believe that everyone should have the tools and knowledge to grow their own food sustainably. Whether you’re a beginner gardener or a seasoned green thumb, our resources and products are tailored to enhance your gardening experience. Explore our site for more insights, tips, and products that help you enjoy the independence and satisfaction of cultivating your own garden.
Happy gardening!

The Best Soil for Thriving Tomato Plants
Growing tomatoes is a fulfilling part of gardening, but the key to healthy plants lies in the soil you use. Here's how you can set up your tomatoes for success by choosing the right soil.
Understand Your Tomato's Needs
Tomatoes require well-drained, nutrient-rich soil. They thrive in soil that's loose enough to allow for proper root growth and water penetration but holds enough moisture to keep the plants hydrated.
Start with the Soil pH
Tomatoes prefer slightly acidic soil, aiming for a pH between 6.0 and 6.8. You can buy a pH testing kit from your local garden center or online. If your soil is too alkaline, adding sulfur can help lower the pH. For soil that's too acidic, lime can make it more alkaline. Lean more about using coffee grounds for tomato plants.
Choose the Right Soil Type
Loamy soil is best for tomatoes. This soil type combines sand, silt, and clay, providing good drainage and sufficient nutrient retention. If your garden doesn't have loamy soil, you can improve it by adding organic matter.
Enrich with Organic Matter
Compost, aged manure, and leaf mold are great for enhancing soil fertility and structure. Mix these into your garden soil a few weeks before you plant your tomatoes to give the material time to integrate and stabilize.
Ensure Proper Drainage
Tomatoes don’t like "wet feet," which means they can suffer in overly wet conditions. To improve drainage, raise your garden beds or add more sand or organic matter to your soil. This helps prevent water from pooling and roots from rotting.
Mulch Matters
After planting, apply a layer of mulch around your tomatoes. Mulch helps the soil retain moisture, suppresses weeds, and keeps the soil temperature consistent. Straw or shredded leaves are excellent choices for mulching tomato plants.
Regular Feeding
Tomatoes are heavy feeders and benefit from regular fertilization. Use a balanced fertilizer to promote healthy growth. Start feeding your plants about six weeks after planting and continue throughout the growing season.
Check for Compaction
Avoid soil compaction as it can limit the growth of tomato roots. Don’t walk on your planting beds or overwork the soil. Use stepping stones or paths to minimize contact with the soil where your tomatoes grow.
Rotate Your Crops
Planting tomatoes in the same spot each year can lead to nutrient depletion and increase the risk of disease. Rotate your crops annually to keep the soil healthy and reduce pest problems.
Water Wisely
Tomatoes need about an inch of water per week, more if the weather is very hot. Water deeply and regularly to encourage deep root growth. Avoid overhead watering to reduce the risk of disease.
Troubleshoot with Tests
If your tomatoes are struggling despite good care, consider getting a soil test. A test can reveal nutrient deficiencies or other issues that are not obvious just from looking at the plant.
Choosing the right soil for your tomatoes can greatly influence their health and yield. Take the time to prepare your garden bed with the appropriate soil type, pH adjustments, and nutrients. With the right foundation, your tomato plants can grow vigorously and produce a bountiful harvest.
About Food Independence
At Food Independence, we understand the importance of growing your own food. Our mission is to help you achieve garden success and enjoy the fruits of your labor. Whether you are a seasoned gardener or just starting, our resources and products are designed to support a sustainable and self-sufficient lifestyle. Visit us to learn more about making the most of your home garden.
Happy gardening, and here's to a plentiful tomato season!
The Best Cauliflower Companion Plants
 Companion planting is a valuable strategy in vegetable gardening, offering numerous benefits such as pest control, improved soil health, and increased yields. When it comes to cauliflower, selecting the right companion plants can enhance its growth and protect it from pests and diseases. Here are some companion plants that pair well with cauliflower:
1. Spinach
Spinach serves as an excellent companion for cauliflower due to its ability to act as a living mulch. Its dense foliage shades the soil, conserving moisture and preventing weed growth. Additionally, spinach has a shallow root system, which complements the deeper roots of cauliflower, preventing competition for nutrients.
2. Celery
Celery is known for releasing compounds that repel common cauliflower pests such as aphids and cabbage worms. By planting celery near cauliflower, you create a natural barrier against these pests. The strong scent of celery confuses pests and reduces their attraction to cauliflower, helping to keep your plants pest-free.
3. Nasturtiums
Nasturtiums are prized companion plants for their ability to attract beneficial insects like ladybugs and hoverflies. These insects feed on aphids and other pests that commonly attack cauliflower, providing natural pest control. The peppery scent of nasturtiums also acts as a deterrent to pests, making them a valuable addition to you
 r cauliflower patch.
4. Chamomile
Chamomile emits a fragrance that repels pests like cabbage moths and aphids, making it an excellent companion for cauliflower. By planting chamomile near cauliflower, you create a protective barrier against these pests, reducing the risk of infestation. Additionally, chamomile has medicinal properties and can attract pollinators, further benefiting your garden.
5. Dill
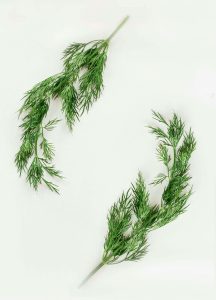
Dill is a beneficial companion plant for cauliflower, attracting predatory insects like parasitic wasps. These wasps prey on caterpillars and aphids, which are common pests of cauliflower, providing natural pest control. The aromatic foliage of dill also confuses and repels pests, helping to protect cauliflower from damage.
6. Marigolds
Marigolds release compounds that repel nematodes and other soil-borne pests harmful to cauliflower. By planting marigolds around cauliflower beds, you create a protective barrier against these pests, reducing the risk of soil-borne diseases. Marigolds also add color and beauty to the garden, enhancing its overall appeal.
Incorporating these companion plants into your cauliflower patch can help improve plant health, increase yields, and reduce the need for chemical pesticides. Experiment with different combinations to find what works best for your garden.
Stay tuned for more tips and tricks for successful vegetable gardening, and check out the Food Independence Summit to explore the home-grown food movement!
Can You Use Miracle-Gro For Vegetables?
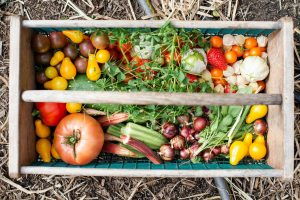 In the world of gardening, Miracle-Gro is a household name. This popular brand offers a range of fertilizers designed to promote healthy growth and abundant blooms in plants. But when it comes to vegetable gardening, many enthusiasts wonder if Miracle-Gro is suitable for their crops.
What’s in Miracle-Gro Fertilizer?
Miracle-Gro fertilizer is known for its balanced blend of nutrients essential for plant growth. Depending on the specific product, Miracle-Gro formulations typically contain nitrogen, phosphorus, potassium, and various micronutrients. The brand offers different types of fertilizers, including water-soluble powders, liquid concentrates, and slow-release granules, catering to different gardening needs and preferences.
Benefits of Using Miracle-Gro on Vegetables
- Promotes Healthy Growth and Development: Miracle-Gro provides essential nutrients that vegetables need to thrive, including nitrogen for leafy growth, phosphorus for root development, and potassium for overall plant vigor.
- Provides Essential Nutrients for Optimal Yield: Vegetables are heavy feeders, requiring a steady supply of nutrients throughout the growing season to produce bountiful harvests. Miracle-Gro fertilizer can help ensure that your vegetable plants have access to the nutrients they need for optimal yield.
- Convenient and Easy to Use: Miracle-Gro products are convenient and easy to use, making them suitable for gardeners of all experience levels. Whether you prefer liquid fertilizers that can be applied with a watering can or slow-release granules that provide long-lasting nutrition, Miracle-Gro offers options to suit your needs.
Considerations When Using Miracle-Gro on Vegetables
- Potential Drawbacks and Concerns: Some gardeners have concerns about the synthetic ingredients and chemical additives found in Miracle-Gro fertilizers. Additionally, overuse or improper application of Miracle-Gro can lead to nutrient imbalances or over-fertilization, which may harm vegetable plants.
- Organic Alternatives and Considerations: For gardeners seeking organic options, Miracle-Gro also offers organic fertilizers made from natural ingredients. Alternatively, there are many organic fertilizers available on the market that can provide the necessary nutrients for vegetable plants without the use of synthetic chemicals.
Best Practices for Using Miracle-Gro on Vegetables
- Following Recommended Dosage and Application Instructions: Read and follow the instructions on the Miracle-Gro product label carefully to ensure proper dosage and application. Over-fertilizing can damage plants, so it's essential to use Miracle-Gro as directed.
- Monitoring Plant Health: Keep an eye on your vegetable plants for any signs of nutrient deficiency or excess. Adjust your fertilization regimen as needed based on the specific needs of your plants and the conditions in your garden.
- Incorporating Other Organic Gardening Practices: In addition to using Miracle-Gro, incorporate other organic gardening practices, such as composting, mulching, and crop rotation, to promote soil health and sustainability in your vegetable garden.
Miracle-Gro can be a valuable tool for vegetable gardeners looking to boost the health and productivity of their crops. By understanding its benefits, considerations, and best practices, you can use Miracle-Gro effectively to grow delicious and nutritious vegetables in your garden.
Stay tuned for more tips and tricks for successful vegetable gardening, and check out the Food Independence Summit to explore the home-grown food movement!
Can You Use Ground or Garden Soil in Pots?
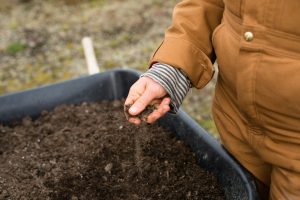 Container gardening offers a versatile and accessible way to grow plants, whether you have limited outdoor space or want to cultivate a variety of plants indoors. One of the key factors in successful container gardening is choosing the right soil.
While ground soil or garden soil might seem like convenient options, using them in pots can present challenges and drawbacks. In this article, we'll explore the considerations and alternatives to using ground or garden soil in pots.
Understanding the Differences Between Ground Soil and Potting Mix
Ground soil, also known as garden soil, is the natural soil found in your outdoor garden. It typically contains a mixture of sand, silt, clay, organic matter, and microorganisms. Potting mix, on the other hand, is specifically formulated for container gardening. It often consists of a blend of peat moss, perlite, vermiculite, and other additives to promote drainage and aeration.
Advantages and Disadvantages of Using Ground Soil in Pots
Advantages:
- Availability and Cost-Effectiveness: Ground soil is readily available in your garden, making it a cost-effective option for filling pots.
- Natural Soil Structure and Microbial Activity: Ground soil contains a diverse array of microorganisms and organic matter, which can benefit plant growth.
Disadvantages:
- Poor Drainage and Compaction: Ground soil tends to retain water and may become compacted in containers, leading to root rot and poor plant growth.
- Risk of Pests, Diseases, and Weed Seeds: Garden soil may harbor pests, diseases, and weed seeds that can negatively impact the health of your plants.
- Nutrient Imbalance and pH Issues: Ground soil may have imbalanced nutrient levels or an unsuitable pH for certain plants, requiring additional amendments.
Pros and Cons of Using Garden Soil in Pots
Pros:
- Similar to Ground Soil: Garden soil shares many of the same advantages as ground soil, including availability and cost-effectiveness.
- Cost-Effective Option for Large Containers: For large containers, using garden soil may be more practical and economical than purchasing large quantities of potting mix.
Cons:
- Compaction and Drainage Issues: Like ground soil, garden soil may suffer from compaction and drainage problems when used in pots.
- Risk of Pests, Diseases, and Weed Seeds: Garden soil carries the same risks of pests, diseases, and weed seeds as ground soil.
- Nutrient Imbalance and pH Issues: Garden soil may require amendments to correct nutrient imbalances or adjust pH levels for optimal plant growth.
Best Practices for Using Ground or Garden Soil in Pots
If you decide to use ground or garden soil in pots, follow these best practices:
- Soil Amendment and Improvement: Incorporate organic matter, such as compost or aged manure, to improve soil structure and fertility.
- Monitoring Moisture Levels: Pay close attention to moisture levels in the soil and adjust watering accordingly to prevent waterlogged conditions.
- Regular Soil Testing: Test the soil periodically for nutrient levels and pH, and make necessary adjustments using amendments or fertilizers.
Alternatives to Ground or Garden Soil for Container Gardening
While ground and garden soil have their benefits, consider using alternatives such as commercial potting mixes or homemade blends tailored for container gardening. These mixes are specifically designed to provide the proper balance of drainage, aeration, and nutrients for container plants.
While ground or garden soil may seem like convenient options for filling pots, they come with drawbacks that can affect plant health and growth. Consider using alternatives such as potting mixes or homemade blends formulated for container gardening to ensure the success of your container plants.
Stay tuned for more tips and tricks for successful vegetable gardening, and check out the Food Independence Summit to explore the home-grown food movement!
How to Tell When Your Broccoli is Ready to Harvest
Broccoli, a nutritious and versatile vegetable, is a favorite among gardeners for its delicious taste and health benefits. Whether you're growing broccoli in your backyard garden or cultivating it in a community plot, knowing when to harvest this cruciferous vegetable is crucial for optimal flavor and texture. In this guide, we'll explore the various stages of broccoli growth and provide tips on identifying signs of readiness for harvest.
Understanding Broccoli Growth Stages
Broccoli undergoes several distinct growth stages before it's ready for harvest:
- Germination and Seedling Stage: This is the initial phase when broccoli seeds sprout and develop into seedlings.
- Vegetative Growth Stage: During this period, the broccoli plant focuses on leaf and stem development, preparing to produce its characteristic florets.
- Head Formation Stage: As the plant matures, a central head begins to form. This head is composed of tightly packed clusters of flower buds, which will eventually become the edible portion of the broccoli.
- Harvesting Stage: This is the stage when the broccoli head is mature and ready for harvest. Timing is crucial to ensure the best flavor and texture.
Factors Influencing Broccoli Growth and Harvest Time
- Climate and Weather Conditions: Broccoli grows best in cool weather conditions, with temperatures ranging between 60°F and 70°F. Extreme heat or cold can affect the plant's growth and development.
- Variety of Broccoli: Different broccoli varieties have varying maturity dates. Some varieties mature earlier than others, so it's essential to select a variety that suits your climate and growing season.
- Soil Quality and Fertility: Broccoli thrives in well-drained, fertile soil with adequate organic matter. Soil pH should ideally be between 6.0 and 7.0 for optimal growth.
- Pest and Disease Management: Pests such as aphids, caterpillars, and cabbage worms can damage broccoli plants and affect their growth. Regular monitoring and appropriate pest management strategies are essential to ensure healthy plants.
Signs Your Broccoli is Ready for Harvest
To determine if your broccoli is ready for harvest, look for the following signs:
- Head Size and Appearance: The broccoli head should be firm, dense, and compact, with tightly packed florets. Avoid harvesting heads with loose or open florets, as this indicates over-maturity.
- Color and Texture: A vibrant green color indicates freshness and optimal flavor. The head should feel firm to the touch, without any soft spots or yellowing.
- Side Shoot Development: After harvesting the main head, check for the development of side shoots. These smaller heads can be harvested later for additional yield.

Harvesting Techniques
When harvesting broccoli, follow these techniques for the best results:
- Tools Needed: Use sharp garden shears or a knife for harvesting.
- Proper Harvesting Procedure: Cut the main head at a slight angle, leaving several inches of stem attached to the plant. This encourages the development of side shoots for future harvests.
- Handling and Storing: After harvesting, rinse the broccoli under cold water to remove any debris. Trim the stem if necessary and store the broccoli in the refrigerator for up to a week.
Troubleshooting Common Harvesting Issues
If you encounter any issues during the harvesting process, consider the following troubleshooting tips:
- Premature Flowering or Bolting: Ensure consistent watering and provide shade during hot weather to prevent premature flowering or bolting.
- Yellowing or Browning of Florets: Yellowing or browning of florets may indicate over-maturity or nutrient deficiencies. Harvest broccoli heads before they become overripe, and amend the soil with compost or fertilizer as needed.
- Pest and Disease Damage: Monitor plants regularly for signs of pests or disease. Remove affected leaves or use organic pest control methods to manage infestations.
- Dealing with Unexpected Weather Conditions: Protect broccoli plants from extreme weather conditions by providing adequate shelter or covering them with row covers during cold snaps or heavy rains.
By paying attention to these factors and signs, you can ensure a bountiful harvest of delicious and nutritious broccoli from your garden. Stay tuned for more tips and tricks for successful vegetable gardening, and check out the Food Independence Summit to explore the home-grown food movement!
How to Control Those Pesky Cabbage Worms
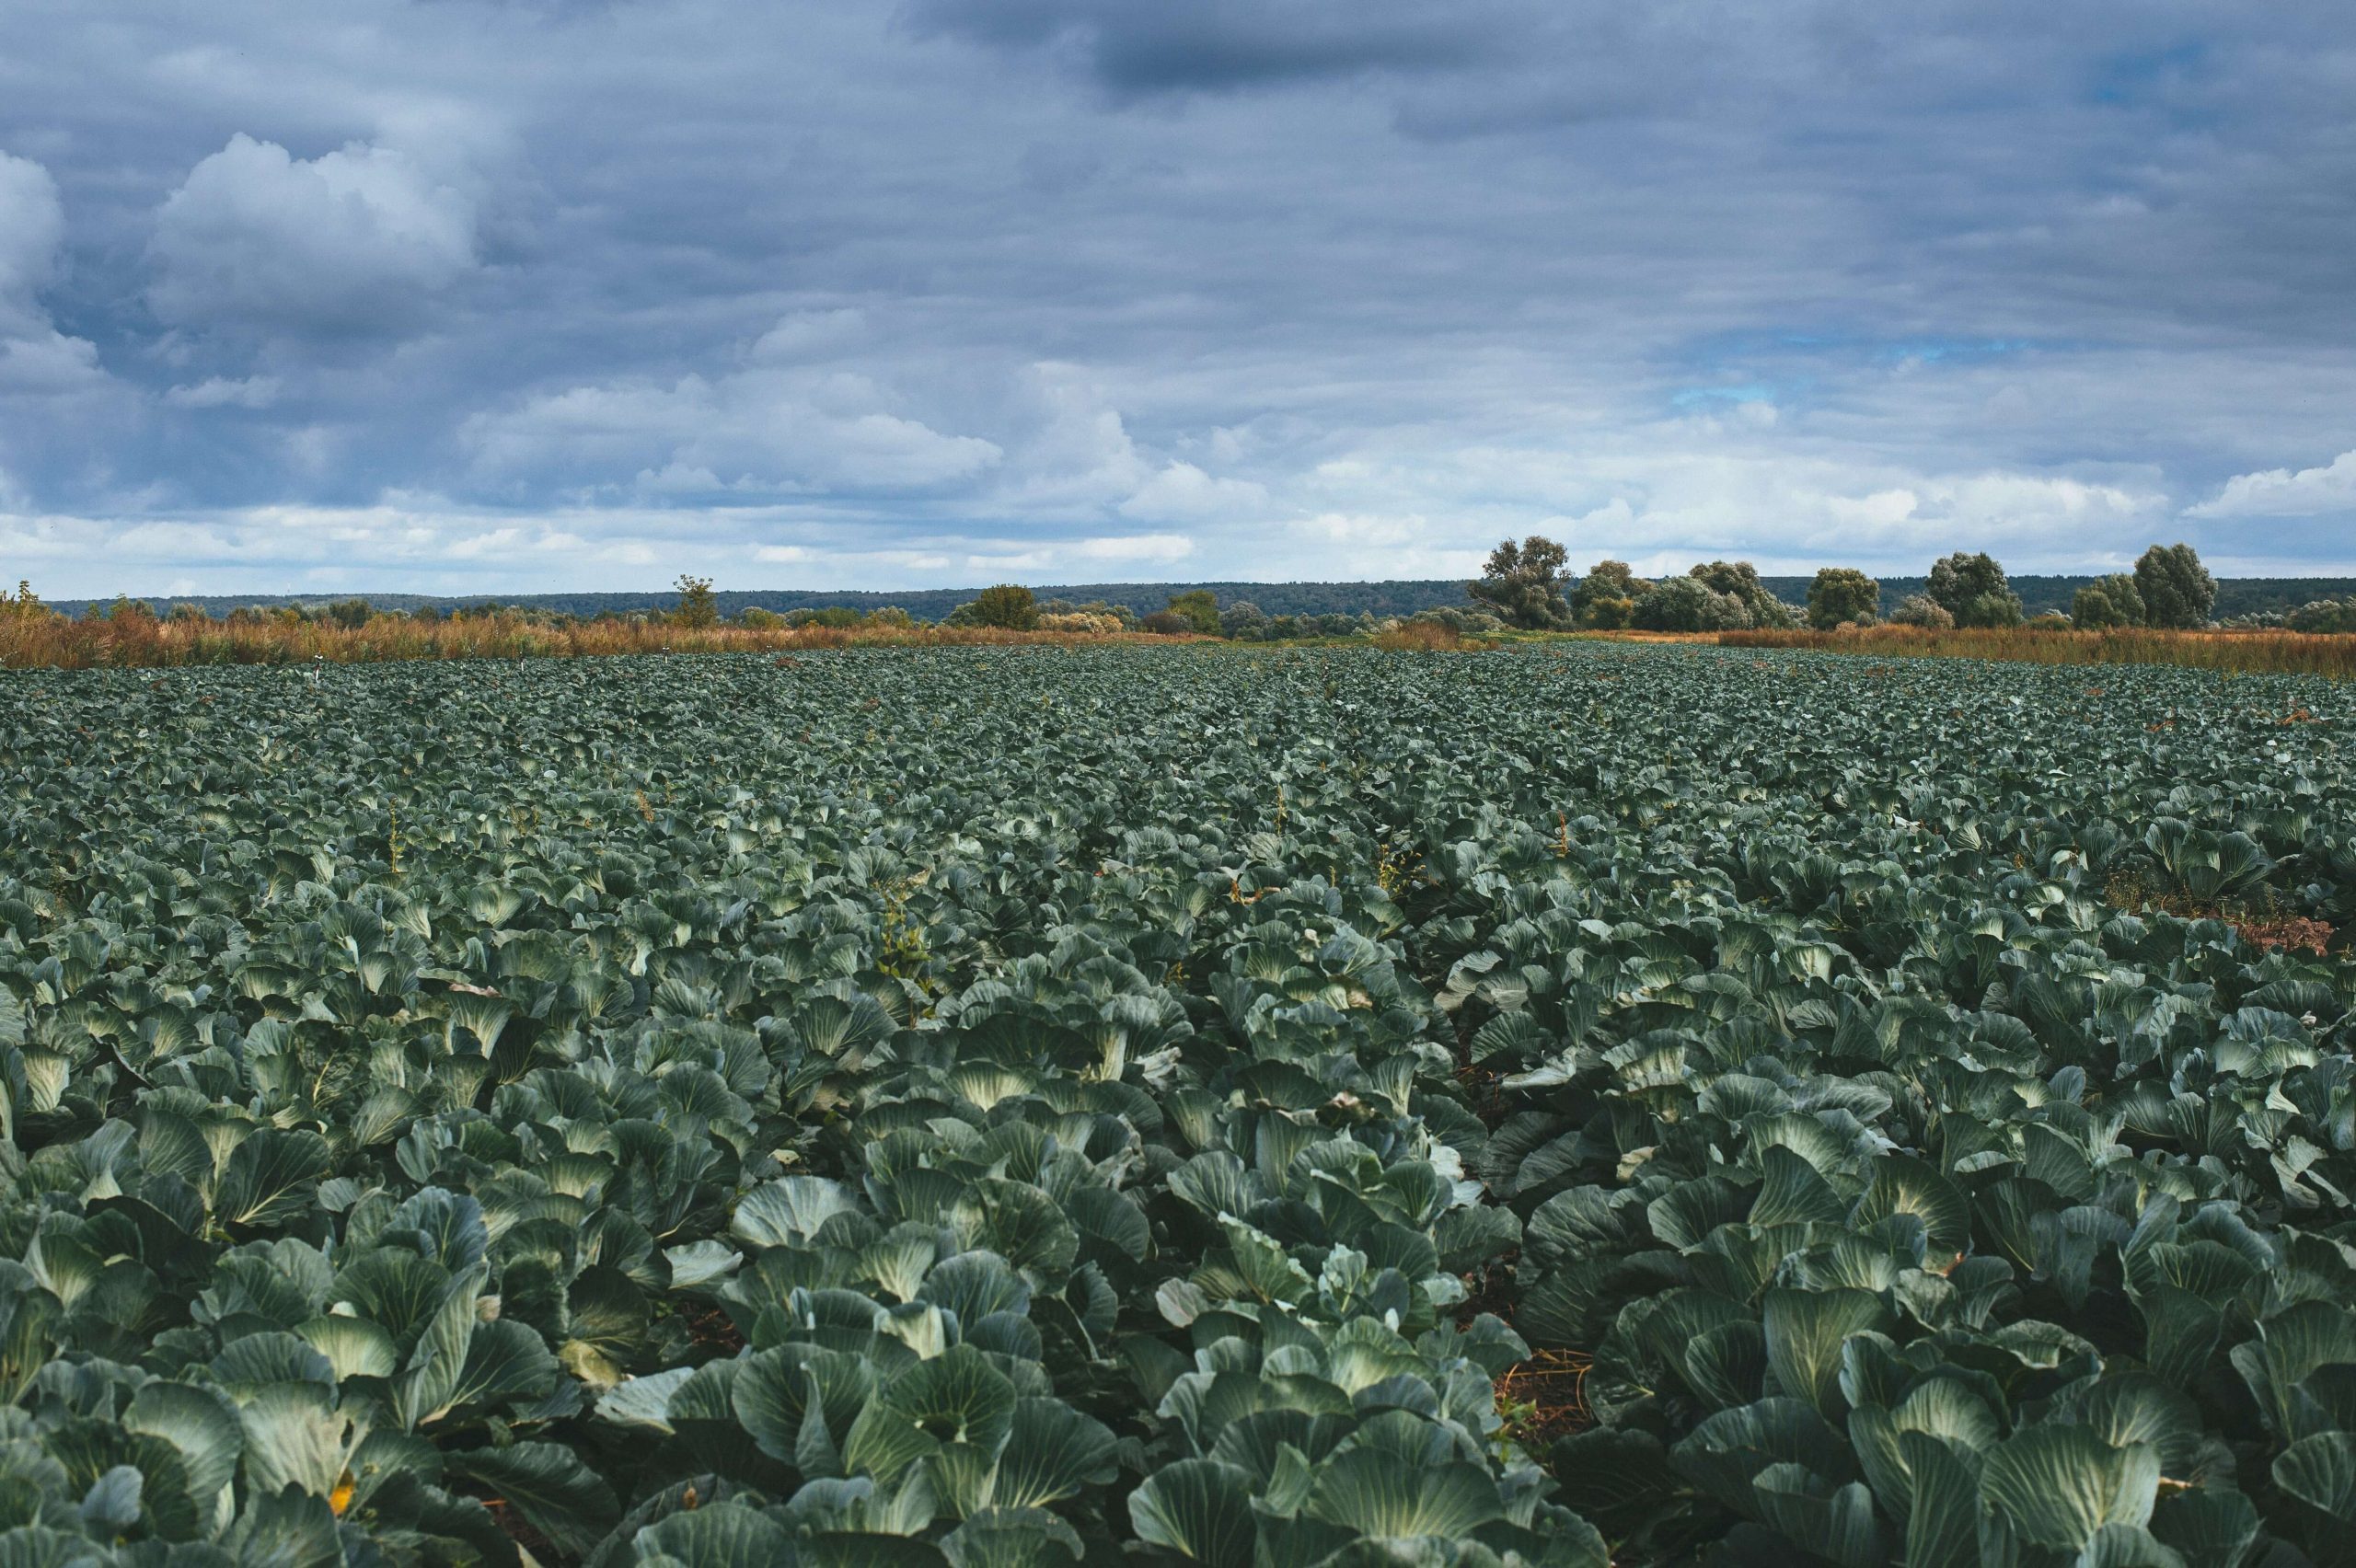
Cabbage worms are a common nuisance for home gardeners, wreaking havoc on cabbage, broccoli, kale, and other cruciferous vegetables. These pests, which include cabbage loopers and imported cabbage worms, can quickly decimate your crops if left unchecked. However, with a few simple strategies, you can effectively control cabbage worms and protect your harvest.
Here's how:
Identifying Cabbage Worms
Cabbage worms are the larvae of small white butterflies known as cabbage moths. These pests lay their eggs on the leaves of cabbage plants, where the larvae hatch and begin feeding. You can identify cabbage worms by their green color, segmented bodies, and voracious appetite for cabbage leaves. Look for
- small holes in the leaves
- dark droppings (frass)
- chewed edges
as signs of cabbage worm infestation.
Managing Cabbage Worms
Handpicking
One of the simplest and most effective methods for controlling cabbage worms is to hand pick them off your plants. Check your cabbage plants regularly and remove any worms you find by hand. Be sure to dispose of them in a bucket of soapy water or squash them to prevent them from returning to your garden.
Row Covers
Prevent cabbage moths from laying their eggs on your plants by covering them with floating row covers. These lightweight fabrics allow sunlight, water, and air to reach your plants while keeping pests at bay. Be sure to secure the edges of the row covers tightly to prevent moths from gaining access to your crops.
Natural Predators
Encourage natural predators like birds, parasitic wasps, and predatory insects to help control cabbage worms in your garden. Planting flowers such as dill, fennel, and yarrow can attract these beneficial insects to your garden, providing natural pest control.
Biological Controls
Consider introducing biological controls such as Bacillus thuringiensis (Bt), a naturally occurring bacterium that targets cabbage worms specifically. Bt is available in various formulations, including sprays and dusts, and is safe to use around pets and beneficial insects.
Companion Planting
Planting aromatic herbs and flowers like thyme, mint, and marigolds around your cabbage plants can help deter cabbage moths and mask the scent of your crops, making them less attractive to pests.
Crop Rotation
Rotate your crops annually to disrupt the life cycle of cabbage worms and reduce the likelihood of infestation. Avoid planting cabbage and other cruciferous vegetables in the same location year after year to prevent the buildup of pests and diseases in the soil.
By implementing these strategies, you can effectively control cabbage worms and protect your cabbage crops from damage. Remember to monitor your plants regularly for signs of infestation and take action promptly to prevent further damage. With a little effort and vigilance, you can enjoy a bountiful harvest of healthy and pest-free cabbage from your garden.
Is There a Trick to Growing Cabbage?
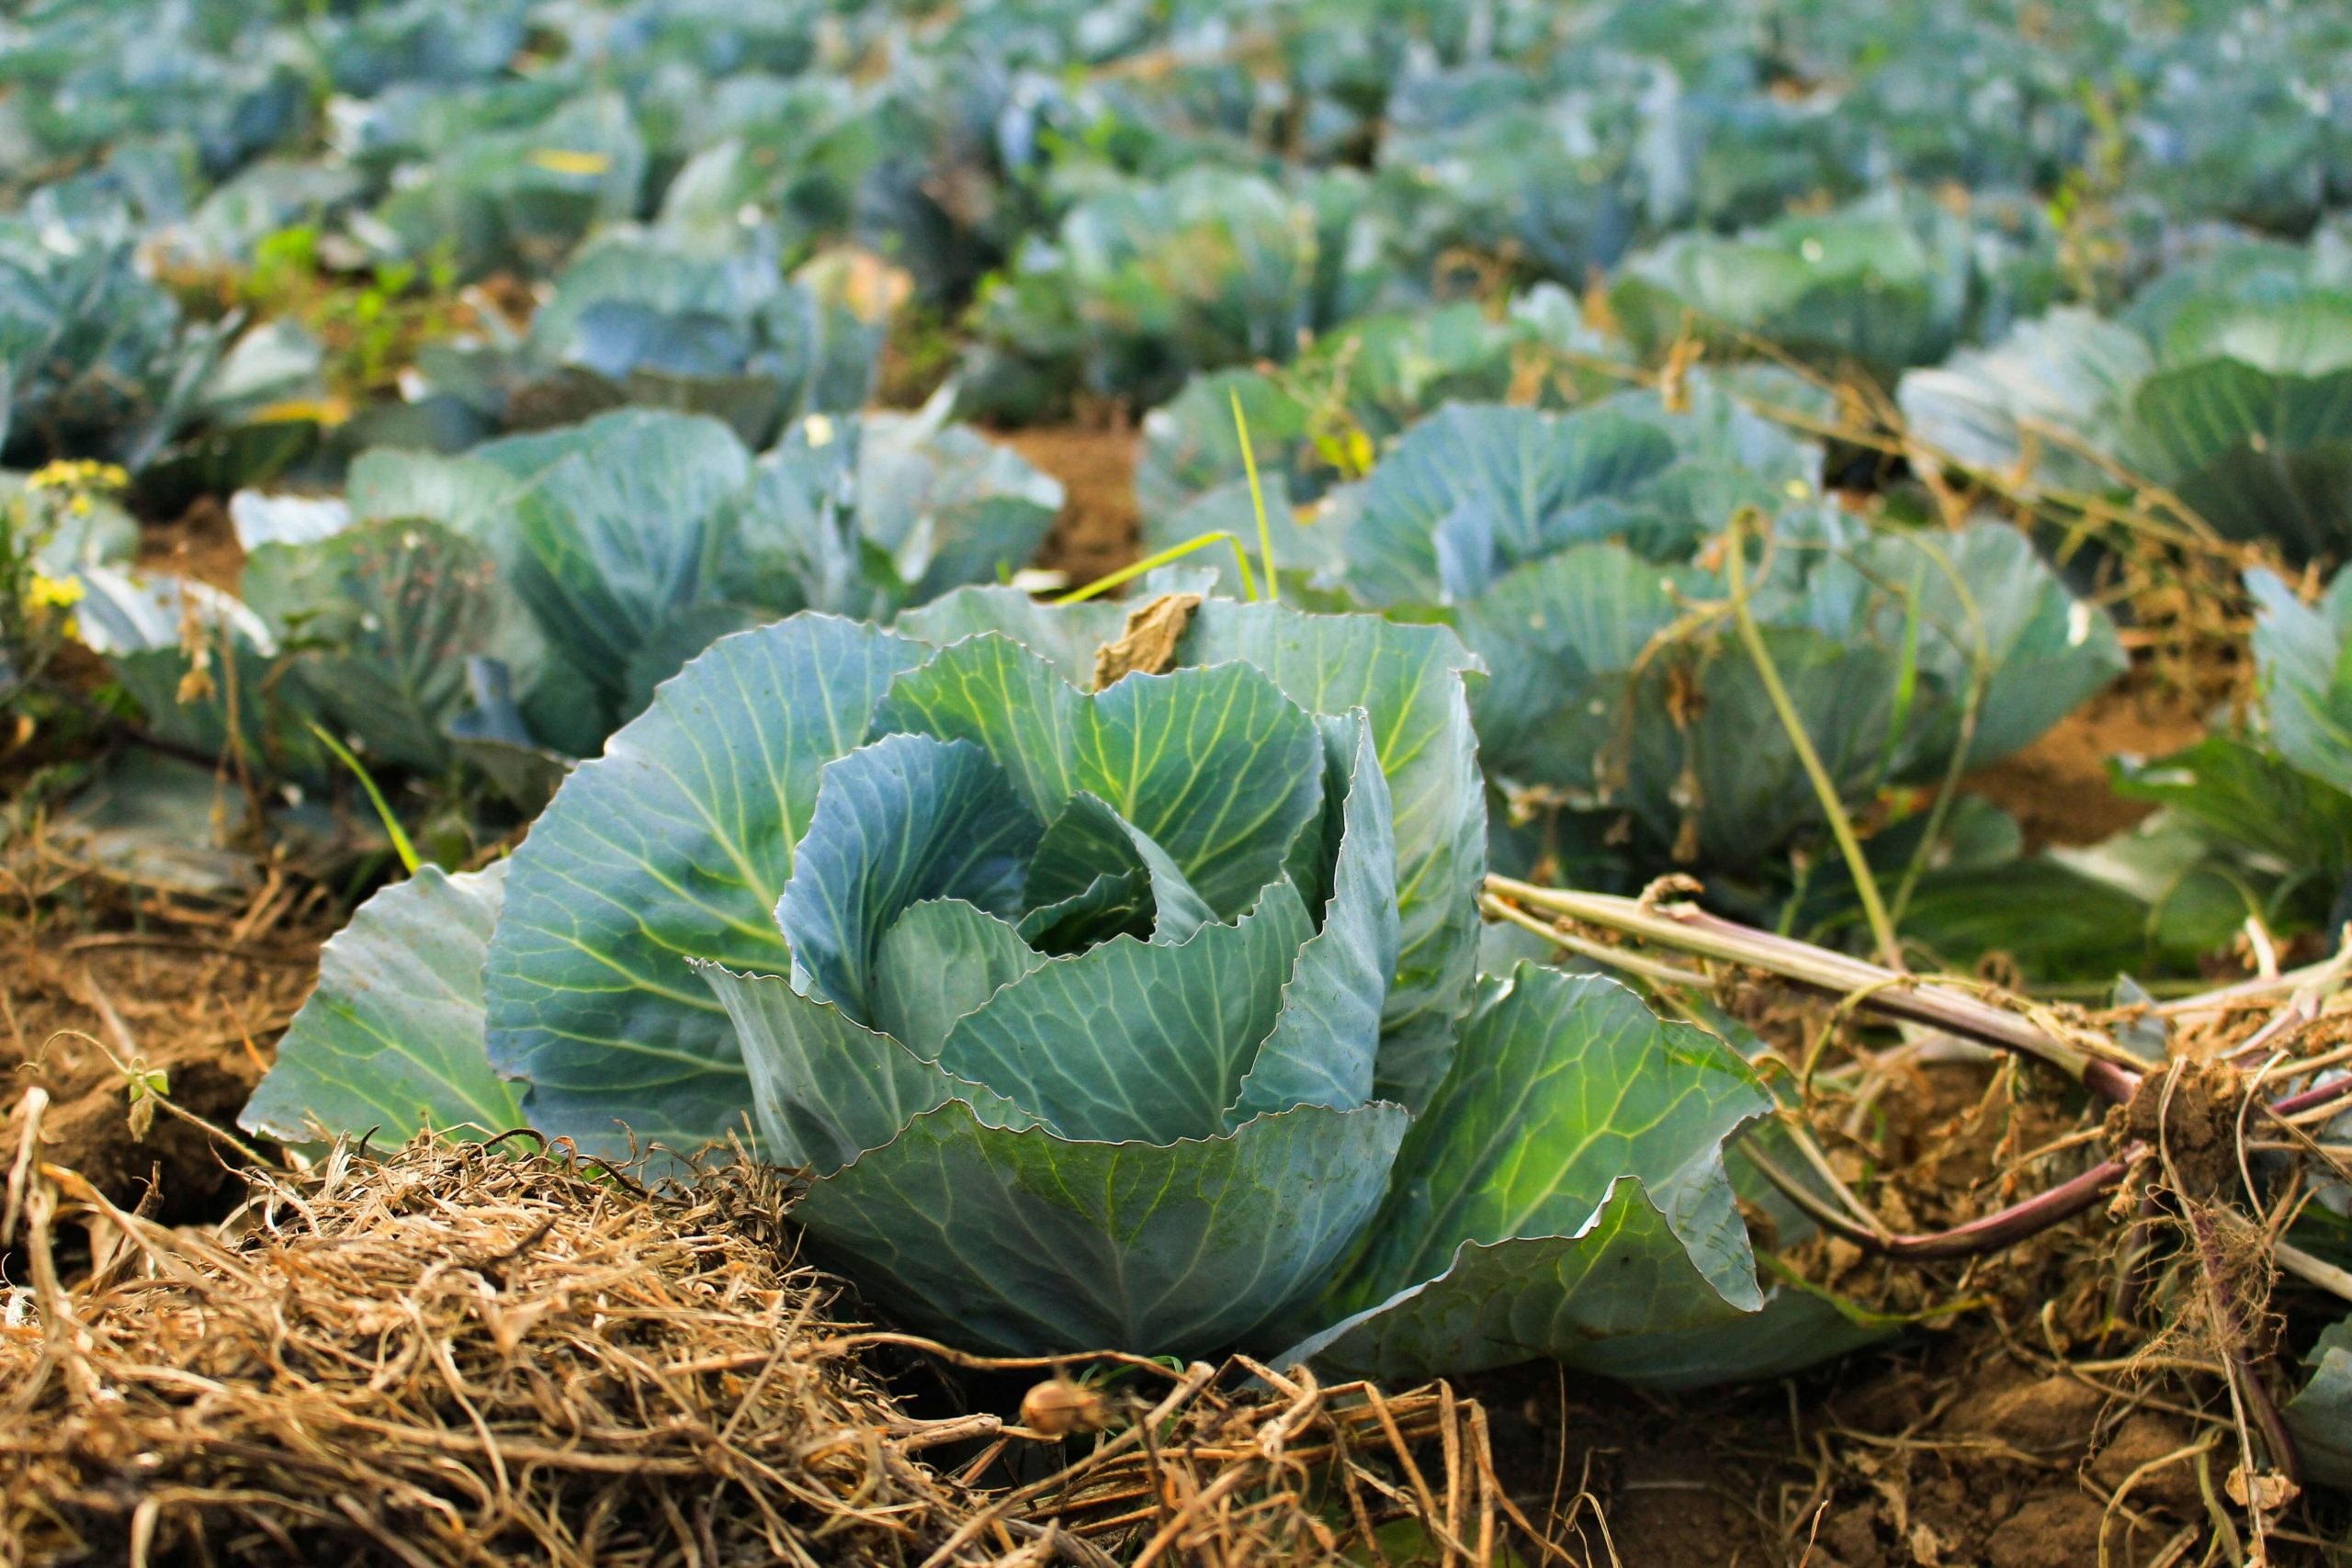
Growing cabbage in your home garden can be a rewarding experience, but it does come with its challenges. With a few tricks up your sleeve, you can grow healthy and delicious cabbage with relative ease.
Growing Tips
- Choose the Right Variety: There are different types of cabbage, including green, red, and savoy varieties. Choose a variety that suits your climate and preferences.
- Planting Time: Cabbage is a cool-season crop that thrives in temperatures between 45°F and 75°F. Plant seeds or seedlings in early spring for a spring harvest or late summer for a fall harvest.
- Sunlight and Soil: Cabbage prefers full sun and well-drained, fertile soil with a pH between 6.0 and 7.5. Amend the soil with compost or aged manure before planting to improve fertility.
- Spacing: Cabbage plants need room to grow, so space them at least 12-18 inches apart in rows with 2-3 feet between rows. Bucket gardening won’t work for cabbage!
- Watering: Keep the soil consistently moist but not waterlogged. Water deeply and regularly, especially during dry spells, to promote healthy growth.
- Fertilization: Cabbage is a heavy feeder, so apply a balanced fertilizer or compost tea every few weeks to provide essential nutrients. Keep in mind your compost browns and greens for the right amount of nutrients.
Harvesting Tips
- Timing: Cabbage is ready to harvest when the heads feel firm and solid to the touch. Most varieties take 70-100 days to mature, depending on the growing conditions and variety.
- Cutting Technique: Use a sharp knife to cut the cabbage heads at the base of the plant, leaving a few outer leaves attached to protect the head during storage.
- Early Harvest: If you prefer smaller heads or want to stagger your harvest, you can cut the outer leaves of the cabbage plant when they reach a usable size, allowing the inner leaves to continue growing.
- Storage: Store harvested cabbage heads in the refrigerator or a cool, dark place for up to a few weeks. Remove any damaged or wilted leaves before storing to prevent rot.
Use It or Preserve It: Fresh cabbage can be used in a variety of dishes, from salads and slaws to soups and stir-fries. You can also preserve cabbage by fermenting it into sauerkraut or kimchi for long-term storage.
Cabbage Companion Plants
Carrots
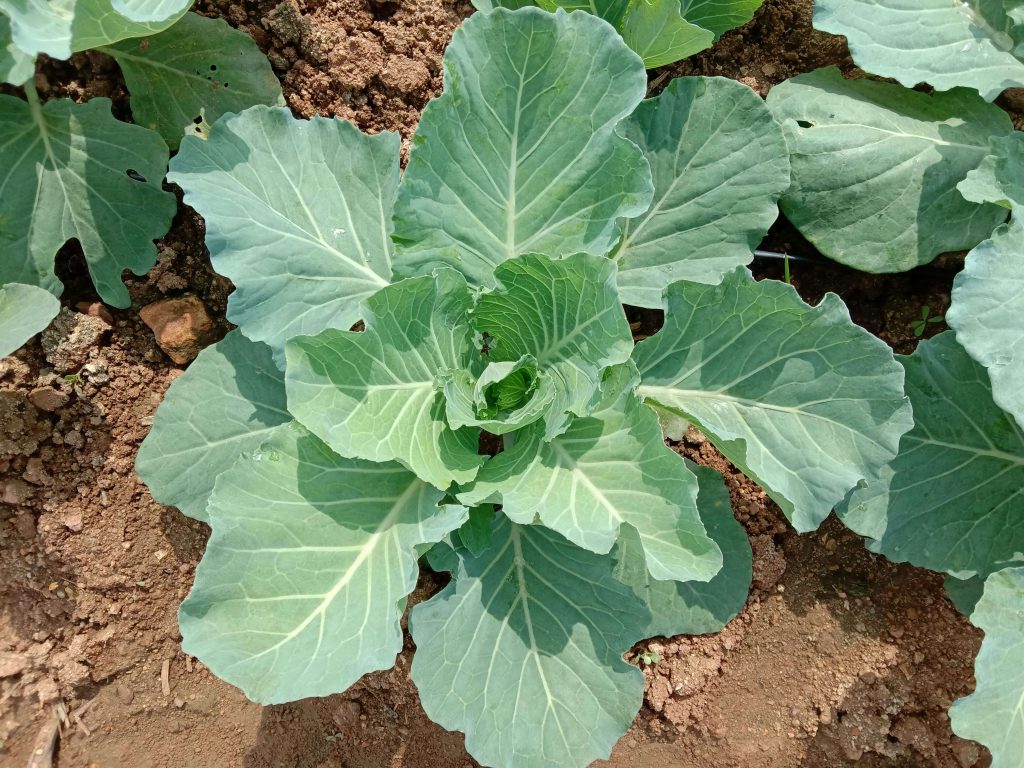
Carrots are excellent companion plants for cabbage as they have different root depths, minimizing competition for nutrients. Additionally, the strong scent of carrots may deter cabbage pests like carrot rust flies.
Onions
Onions help deter cabbage pests such as aphids and cabbage worms with their pungent odor. Planting onions around cabbage can also improve soil health and deter weeds.
Dill
Dill attracts beneficial insects like predatory wasps, which prey on cabbage pests such as cabbage loopers and aphids. Planting dill near cabbage can help reduce pest infestations and improve overall plant health.
Growing cabbage requires patience and attention to detail, but the rewards are well worth the effort. With these tips in mind, you'll be well on your way to enjoying homegrown cabbage straight from your garden. Stay tuned for more gardening tips from the experts at Food Independence.
Happy gardening!

How to Plant Spring Onions: Home-Gardening Instructions
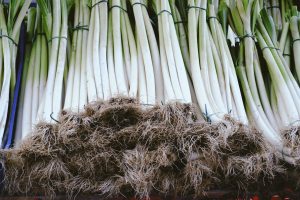
Spring onions, with their mild and versatile flavor, are a delightful addition to various culinary dishes. Growing these crisp and flavorful onions at home not only ensures a fresh supply but also allows you to experience the joy of cultivating your own produce.
In this guide, we'll walk you through the process of planting spring onions, from selecting the right seeds to caring for them through different growing stages. Whether you're a seasoned gardener or a novice enthusiast, these home-gardening instructions will help you cultivate vibrant and tasty spring onions!
Selecting Spring Onion Seeds
If you’re propagating, go ahead and skip to the next section. Here’s what to consider when picking seeds:
- Variety: Spring onions come in various varieties, each with its unique flavor profile and growing characteristics. Common varieties include White Lisbon, Tokyo Long White, and Evergreen Bunching.
- Seed Quality: Opt for high-quality seeds from reputable sources. Check the seed packet for information on germination rates and any specific requirements.
- Growing Conditions: Choose seeds that are well-suited to your growing conditions, considering factors such as climate, soil type, and available sunlight.
- Organic Options: If possible, choose organic or heirloom seeds to ensure a more natural and sustainable growing experience.
Planting Spring Onions from Seeds
- Timing: Spring onions can be planted in early spring or late summer for a fall harvest. Check your local climate and planting zone for the best timing.
- Prepare the Soil: Choose a sunny location with well-draining soil. Spring onions prefer slightly acidic to neutral soil. Work the soil to a depth of 6-8 inches, removing any debris or rocks.
- Seed Depth: Plant the seeds about half an inch to an inch deep. Space the rows 12-18 inches apart to allow for proper growth.
- Watering: Keep the soil consistently moist, especially during germination. Once the spring onions are established, water them regularly, ensuring the soil remains consistently damp.
- Thin Seedlings: When the seedlings reach a height of 2-3 inches, thin them to provide adequate space for growth. Space the seedlings 2-3 inches apart within the row.

Propagating Green Onions from Scraps
One of the most exciting aspects of growing spring onions is the ability to propagate them from kitchen scraps! It’s a lot easier than you might think.
- Select Healthy Scraps
-
-
- Save the root ends of green onions after use. Choose scraps with intact roots and place them in a glass with enough water to cover the roots.
-
- Place in Water
-
-
- Position the glass on a sunny windowsill, allowing the green onion scraps to receive indirect sunlight. Change the water regularly, and you'll notice new green growth within a few days.
-
- Transplanting
-
- Once the green shoots have reached a suitable height (around 4-6 inches), transplant them into soil. Bury the roots, leaving the green shoots above the soil line.
- Seedling Stage
- The seedlings will continue to grow, forming thin green shoots. At this stage, thin out the seedlings to ensure proper spacing.
- Bulb Formation
- As the spring onions mature, they will start to form bulbs at the base. This process takes several weeks, and the bulbs will gradually swell in size.
- Maturation
- Spring onions are typically ready for harvest 8-12 weeks after planting, depending on the variety and growing conditions. Harvest when the bulbs reach the desired size.
Caring for Growing Spring Onions
Ensuring the success of your spring onion crop involves ongoing care throughout the growing season. Here are some essential care tips:
- Watering: Maintain consistent moisture in the soil. Water the spring onions regularly, especially during dry periods. However, avoid waterlogged conditions, as this can lead to root rot.
- Soil Conditions: Use well-draining, fertile soil for planting. Incorporate organic matter, such as compost, to enrich the soil and provide essential nutrients.
The Growing Stages of Spring Onions
Understanding the different growing stages of spring onions is essential for proper care and maintenance. Here are the key stages to know:
Germination
This initial stage occurs when the seeds sprout, usually within 7-14 days after planting. Keep the soil consistently moist during this period.
Fertilization
Apply a balanced fertilizer or compost around the base of the spring onions every 4-6 weeks to provide essential nutrients.
Weeding
Keep the area around the spring onions free from weeds. Weeds compete for nutrients and can hinder the growth of your crop.
Pest Control
Keep an eye out for pests like onion thrips and aphids. If necessary, use organic insecticides or insecticidal soap to control infestations.
Mulching
Applying a layer of mulch around the spring onions helps retain moisture, suppress weeds, and regulate soil temperature.
How to Harvest Spring Onions
Knowing when and how to harvest spring onions is crucial for maximizing flavor and tenderness. Follow these guidelines for a successful harvest:
- Timing: Harvest spring onions when the bulbs reach the desired size, typically 1-1.5 inches in diameter. For green onions, you can start harvesting when the shoots are around 6-8 inches tall.
- Gentle Pulling: To harvest, gently pull the spring onions from the soil. You can also use a small garden fork to lift the bulbs without damaging the surrounding plants.
- Continuous Harvest: Spring onions are often harvested continuously. As you remove mature bulbs, new ones will continue to form, allowing for an extended harvest period!
How Long Do Green Onions Take to Grow?
The time it takes for green onions to grow depends on the variety, growing conditions, and the desired size at harvest. Generally, green onions can be ready for harvest in as little as 8-12 weeks after planting.
Get Ready to Garden!
Growing spring onions at home is a rewarding and fun hobby that allows you to enjoy fresh, flavorful produce right from your garden or containers. Whether you choose to propagate green onions from scraps or start from seeds, following these home-gardening instructions will help you cultivate healthy and vibrant spring onions.
Good luck!
Are Coffee Grounds Good for Tomato Plants? Here's What You Need to Know

Coffee grounds are a popular household waste product that many gardeners consider using as a natural fertilizer for their plants. When it comes to tomato plants, you might be wondering, "Are coffee grounds good for tomato plants?"
In this article, we will explore the benefits and potential drawbacks of using coffee grounds in your tomato garden and provide guidance on how often you should apply them.
Are Coffee Grounds Good for Tomato Plants?
Coffee grounds can be beneficial for your tomato plants when used correctly. Here are some reasons why they can be a valuable addition to your gardening routine:
- Nutrient Boost: Coffee grounds are a source of essential nutrients like nitrogen, potassium, and phosphorus, which are vital for healthy plant growth. Nitrogen, in particular, is crucial for leafy green growth, making coffee grounds a suitable choice for tomato plants.
- Acidic pH: Coffee grounds are slightly acidic, which can be advantageous for tomatoes. They prefer slightly acidic to neutral soil with a pH range of 6.0 to 6.8. Adding coffee grounds can help maintain an optimal pH level for your plants.
- Organic Matter: Coffee grounds contribute to the organic matter content of the soil, improving soil structure and water retention. This can be especially beneficial if you have sandy soil, which tends to drain quickly.
- Repelling Pests: Coffee grounds can act as a natural pest repellent. They deter pests like slugs and snails, which can damage tomato plants.
- Reducing Weeds: Applying a layer of coffee grounds around your tomato plants can help suppress weed growth, reducing competition for nutrients and water.
Do Tomatoes Like Coffee Grounds?
Yes, tomatoes can benefit from the use of coffee grounds if applied correctly. However, it's essential to be mindful of a few considerations:
- Balanced Use: Coffee grounds should be used in moderation. Too many coffee grounds can make the soil overly acidic, which is not ideal for tomato plants.
- Composting or Mulching: To prevent the soil from becoming too acidic, it's a good practice to compost coffee grounds or mix them with other compost materials before applying them to your garden. Alternatively, you can use coffee grounds as a mulch, which allows them to break down slowly and release nutrients without drastically affecting the pH.
- Variety of Plants: While tomatoes can benefit from coffee grounds, not all plants are as tolerant of acidity. Be cautious about using coffee grounds around plants that prefer alkaline soil.
- Used Grounds: It's best to use used coffee grounds, as they are less acidic than fresh ones. The brewing process reduces the acidity, making them safer for your plants.
How Often Should I Put Coffee Grounds on My Tomato Plants?
The frequency of applying coffee grounds to your tomato plants depends on several factors, including the current soil composition, the specific needs of your plants, and the acidity of the coffee grounds. Here are some guidelines to help you determine how often to use coffee grounds:
- Start Slow: If you are new to using coffee grounds in your garden, start with a small amount. A thin layer of coffee grounds applied every few months can be a good way to introduce them gradually to your soil.
- Monitor Soil pH: Regularly test your soil's pH to ensure it remains within the ideal range for tomatoes (6.0 to 6.8). If you notice the pH dropping due to coffee grounds, reduce the frequency of application.
- Compost or Mulch: Incorporating coffee grounds into your compost pile is an excellent way to balance their acidity and provide a slow-release source of nutrients for your tomato plants. You can also use coffee grounds as a mulch, which breaks down gradually over time.
- Consider Other Nutrient Sources: Remember that tomatoes need a balanced diet of nutrients. While coffee grounds provide nitrogen, they may not be sufficient for all of your tomato plant's needs. Be sure to use other organic fertilizers or compost to provide a well-rounded nutrient supply.
- Assess Plant Health: Pay attention to how your tomato plants respond to the coffee ground application. If they appear healthy and vibrant, you are likely using them at an appropriate frequency. If you notice any signs of nutrient deficiency or soil acidity issues, adjust your application accordingly.
In summary, while coffee grounds can be beneficial for tomato plants, it's essential to use them in moderation and consider the specific needs of your garden. By monitoring soil pH, composting or mulching the coffee grounds, and incorporating other nutrient sources, you can successfully integrate coffee grounds into your gardening routine without overdoing it.
Gardening with Coffee Grounds
Coffee grounds can be a valuable addition to your tomato garden when used thoughtfully and in moderation. The nitrogen-rich and slightly acidic properties of coffee grounds can benefit your tomato plants by providing essential nutrients and maintaining the optimal pH level.
To ensure the best results, compost or mulch the coffee grounds and monitor your soil's pH regularly. By following these guidelines, you can enjoy healthier and more productive tomato plants while making the most of your coffee grounds.